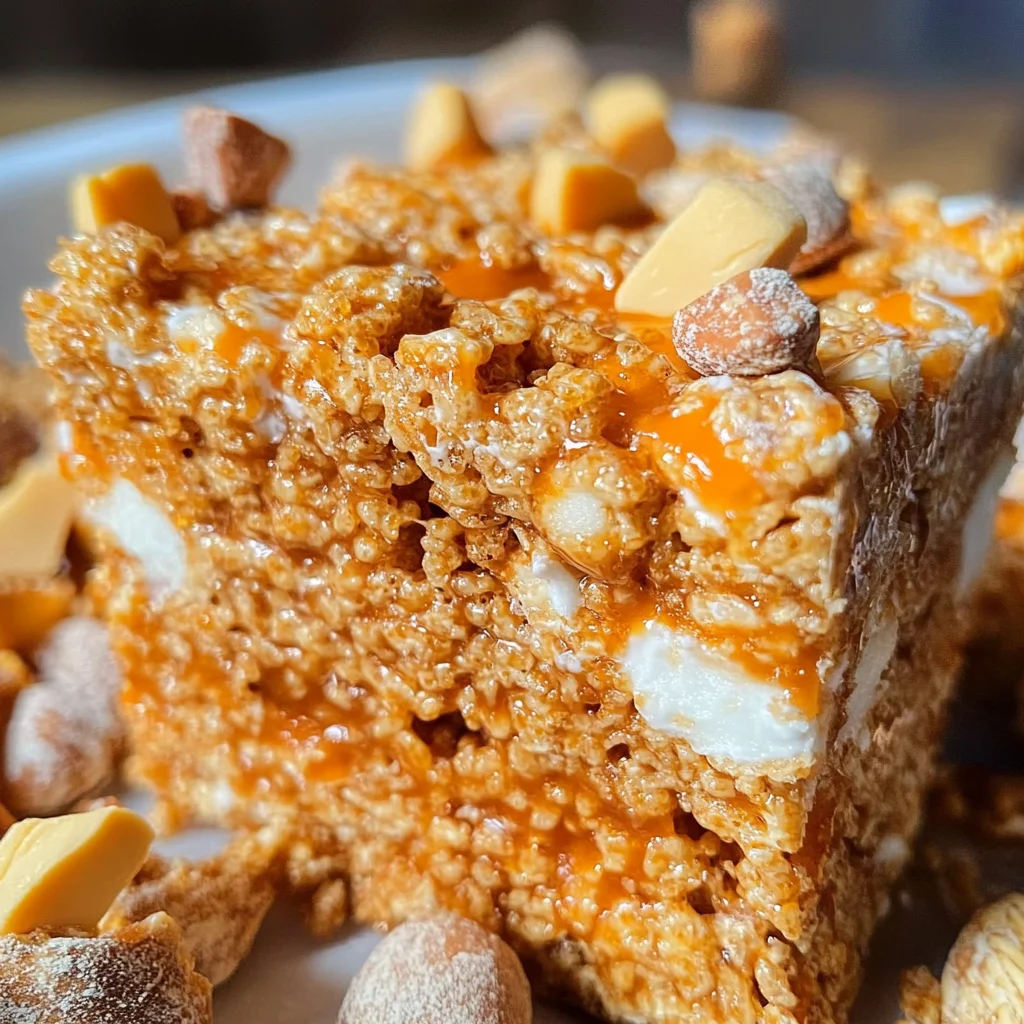
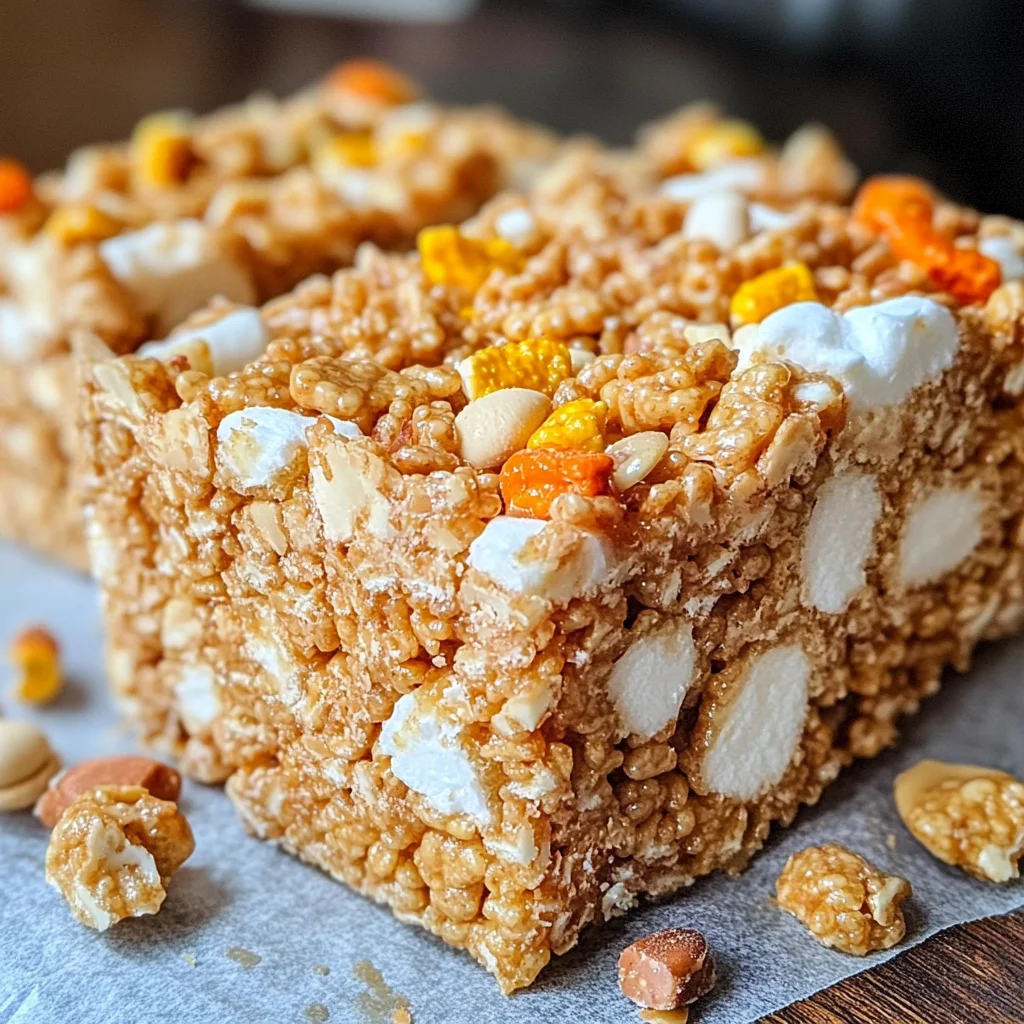
Butterfinger Rice Krispie Treats
Butterfinger Rice Krispie Treats are the perfect blend of sweet, crunchy, and chewy textures. These treats are incredibly easy to make, making them ideal for any occasion—whether it’s a casual family gathering or a festive celebration. The combination of creamy peanut butter and crushed Butterfinger candy bars gives these Rice Krispie Treats a delightful twist that is hard to resist!
Why You’ll Love This Recipe
- Quick and Easy: This recipe takes only about 15 minutes of your time to prepare, making it a perfect last-minute dessert.
- No Baking Required: Simply melt, mix, and cool! There’s no need to turn on the oven.
- Crowd-Pleasing Flavor: The unique mix of peanut butter and Butterfinger delivers an irresistible taste that everyone will love.
- Versatile Treat: Great for parties, potlucks, or as an after-school snack. These treats are suitable for various occasions!
- Customizable: Feel free to mix in other candies or nuts to create your own delicious variations.
Tools and Preparation
To make these Butterfinger Rice Krispie Treats, you need a few essential tools. Having the right equipment makes the process smoother and ensures your treats come out perfectly.
Essential Tools and Equipment
- Non-stick pot
- Rubber spatula
- 9 x 13-inch baking dish
- Plastic bag
- Rolling pin or mallet
Importance of Each Tool
- Non-stick pot: Ensures that the marshmallows melt smoothly without sticking, simplifying cleanup.
- Rubber spatula: Perfect for mixing ingredients thoroughly and spreading them evenly in the baking dish.
Ingredients
For these delicious Butterfinger Rice Krispie Treats, you’ll need:
For the Base
- 1/4 cup unsalted butter
- 10.5 ounces mini vegan marshmallows
- 1/2 cup creamy peanut butter
For the Crunch
- 6 cups Rice Krispies cereal
- 5.7 ounces Butterfinger candy bars (3 bars or 9 Fun Size)
How to Make Butterfinger Rice Krispie Treats
Step 1: Prepare Your Baking Dish
Spray a 9 x 13-inch baking dish with cooking spray to prevent sticking.
Step 2: Crush the Butterfingers
Place the Butterfinger candy bars into a plastic bag. Use a rolling pin or mallet to crush them into smaller pieces. Aim for a mix of fine crumbs and larger chunks for added texture.
Step 3: Melt the Butter and Marshmallows
In a large non-stick pot over medium heat, melt the butter. Once melted, add the mini vegan marshmallows. Stir continuously until they are completely melted.
Step 4: Add Peanut Butter
Remove the pot from heat and stir in creamy peanut butter. Mix continuously until it is fully melted and well combined with the marshmallow mixture.
Step 5: Incorporate Crush Butterfingers
Gently fold in the crushed Butterfingers into the melted mixture until evenly distributed.
Step 6: Mix in Rice Krispies
Add the Rice Krispies cereal to the pot. Stir until all cereal is coated with the mixture.
Step 7: Spread in Baking Dish
Pour everything into the prepared baking dish. Use a greased rubber spatula to spread it evenly across the pan.
Step 8: Cool Before Cutting
Allow the treats to cool completely at room temperature for about an hour before cutting them into bars.
With this simple recipe, you can enjoy delightful Butterfinger Rice Krispie Treats that everyone will adore!
How to Serve Butterfinger Rice Krispie Treats
Butterfinger Rice Krispie Treats are not only delicious but also versatile. Whether you’re hosting a party or looking for a sweet snack, these treats can be served in various creative ways.
Individual Portions
- Use cupcake liners to serve single servings. This makes for an easy grab-and-go treat.
Dessert Platter
- Arrange cut bars on a colorful platter alongside fresh fruit for a delightful dessert spread.
Ice Cream Topping
- Crumble the treats over ice cream for a crunchy, peanut-y topping that elevates any scoop.
Party Favors
- Wrap individual bars in cellophane and ribbon for a fun and tasty party favor.
With Hot Beverages
- Serve alongside coffee or hot chocolate. The sweetness pairs perfectly with warm drinks.
How to Perfect Butterfinger Rice Krispie Treats
Creating the perfect Butterfinger Rice Krispie Treats is simple with a few helpful tips. Follow these suggestions to enhance your treats.
- Use Fresh Ingredients: Ensure your marshmallows and butter are fresh for the best texture and flavor.
- Don’t Overheat: Melt the butter and marshmallows gently to avoid burning, which can change the taste.
- Mix Quickly: Combine the ingredients swiftly once removed from heat to maintain the gooey texture.
- Press Firmly: When spreading into the pan, press down firmly but gently to keep them from being too dense.
Best Side Dishes for Butterfinger Rice Krispie Treats
Pairing side dishes with Butterfinger Rice Krispie Treats can create a balanced snack experience. Here are some great options.
- Fresh Fruit Salad: A mix of seasonal fruits adds freshness and balances the sweetness of the treats.
- Veggie Sticks with Hummus: Crunchy vegetables offer a healthy contrast to the soft texture of the treats.
- Cheese Platter: Include assorted cheeses for a savory touch that complements the sweetness.
- Trail Mix: A homemade trail mix provides additional crunch and is easily customizable.
- Popcorn: Lightly salted popcorn can be a fun, crunchy side that pairs well with sweet desserts.
- Chocolate-Covered Pretzels: For those who love both sweet and salty flavors, this combination is perfect!
Common Mistakes to Avoid
Making Butterfinger Rice Krispie Treats can be simple, but there are a few common mistakes to watch out for.
- Incorrectly measuring ingredients – Always use the correct measurements for butter, marshmallows, and Rice Krispies. Using too much or too little can affect the texture and taste.
- Not allowing proper cooling time – Skipping the cooling step before cutting can lead to messy treats. Let them cool completely for about an hour.
- Overheating the marshmallows – Melting marshmallows should be done over low to medium heat. Overheating can cause them to become hard instead of gooey.
- Failing to grease the pan – Not greasing your baking dish can result in sticking. Always spray with cooking spray for easy removal.
- Skipping the crushing step – Leaving Butterfingers in large chunks may not distribute their flavor evenly. Crush them into smaller pieces for a better mix.
Storage & Reheating Instructions
Refrigerator Storage
- Store in an airtight container.
- They will stay fresh for up to one week.
Freezing Butterfinger Rice Krispie Treats
- Wrap individual bars tightly in plastic wrap.
- Place in a freezer-safe bag or container; they will last up to three months.
Reheating Butterfinger Rice Krispie Treats
- Oven – Preheat to 300°F (150°C) and heat for about 5-10 minutes until warm.
- Microwave – Warm a single bar on high for about 10-15 seconds, checking frequently.
- Stovetop – Place in a non-stick pan over low heat, stirring gently until warmed through.
Frequently Asked Questions
Here are some frequently asked questions about making Butterfinger Rice Krispie Treats.
Can I make Butterfinger Rice Krispie Treats ahead of time?
Yes! You can prepare these treats a day or two in advance. Just store them properly in an airtight container.
How do I customize Butterfinger Rice Krispie Treats?
You can add other candies like M&M’s or nuts. Feel free to experiment with different flavors of peanut butter too!
What if I can’t find Butterfinger candy bars?
You can substitute with other chocolate-covered peanut butter candies or similar treats available at your local store.
Are Butterfinger Rice Krispie Treats gluten-free?
Yes! As long as you use gluten-free Rice Krispies, these treats will be gluten-free and safe for those with gluten sensitivities.
Final Thoughts
Butterfinger Rice Krispie Treats are a delightful combination of crunchy, chewy, and chocolatey textures that everyone will love. They are perfect as a snack or dessert, and you can easily customize them by adding your favorite candies or nuts. Give this recipe a try, and enjoy this sweet treat!
Butterfinger Rice Krispie Treats
Indulge in the sweet, crunchy goodness of Butterfinger Rice Krispie Treats! This delightful no-bake dessert combines creamy peanut butter with the irresistible crunch of crushed Butterfinger candy bars, creating a treat that is perfect for any occasion—from family gatherings to festive celebrations. With only a few simple ingredients and about 15 minutes of preparation time, you can whip up these delicious bars that are sure to please both kids and adults alike. The combination of textures—chewy marshmallows, crispy rice cereal, and crunchy candy—makes every bite a delightful experience. Plus, they are easily customizable; mix in your favorite candies or nuts for an extra twist!
- Prep Time: 15 minutes
- Cook Time: None
- Total Time: 0 hours
- Yield: Approximately 12 servings 1x
- Category: Dessert
- Method: No-Bake
- Cuisine: American
Ingredients
- 1/4 cup unsalted butter
- 10.5 ounces mini vegan marshmallows
- 1/2 cup creamy peanut butter
- 6 cups Rice Krispies cereal
- 5.7 ounces Butterfinger candy bars (3 bars or 9 Fun Size)
Instructions
- Spray a 9 x 13-inch baking dish with cooking spray.
- In a plastic bag, crush Butterfinger bars into small pieces using a rolling pin.
- Melt butter in a non-stick pot over medium heat, then add mini vegan marshmallows and stir until melted.
- Remove from heat and mix in creamy peanut butter until fully combined.
- Fold in crushed Butterfingers and Rice Krispies until evenly coated.
- Pour mixture into the prepared baking dish, spreading it evenly with a greased rubber spatula.
- Allow to cool for about an hour before cutting into bars.
Nutrition
- Serving Size: 1 bar (40g)
- Calories: 160
- Sugar: 10g
- Sodium: 50mg
- Fat: 7g
- Saturated Fat: 3g
- Unsaturated Fat: 4g
- Trans Fat: 0g
- Carbohydrates: 22g
- Fiber: 0g
- Protein: 2g
- Cholesterol: 5mg